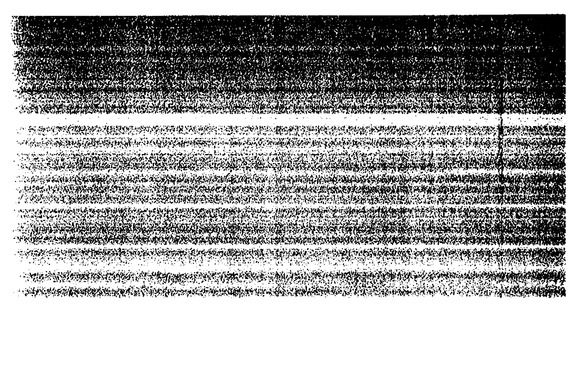
As with all electronics, it’s not too uncommon that your printer starts to show some malfunctions after a while. Sometimes you start printing a photo, but what comes out of the printer is more of a “connect the dots” puzzle rather than an actual picture. You try to clean the print heads through the printer’s software, but as soon as you print the test page, there is no improvement. It might be possible that the print heads are clogged after a long period of inactivity, or that there is an air bubble inside the cartridge that prevents the printer from distributing ink correctly.
Fortunately, you can solve this problem yourself. In this article, we will show you how you can easily clean the cartridges of an HP printer yourself, in order to make the printer function as desired again. Nothing ventured, nothing gained, so it’s always worth a try! Note that the process explained in this article might be slightly different for your printer and cartridge type.
Please also note that this guide is only for HP printers, and not for Canon, Epson or Brother printers. All these manufacturers use different ink distribution techniques during printing.
What you need:
- Paper towels
- Cotton swabs
- Warm water
As you can see, it doesn’t take many items, just a little patience and some household supplies. The paper towels can of course also be replaced by tissues or toilet paper.
ATTENTION!
Ink may leak out of the print-head while cleaning the cartridges. Printer ink permanently stains clothing, so we recommend that you put on old clothes or take proper precautions.
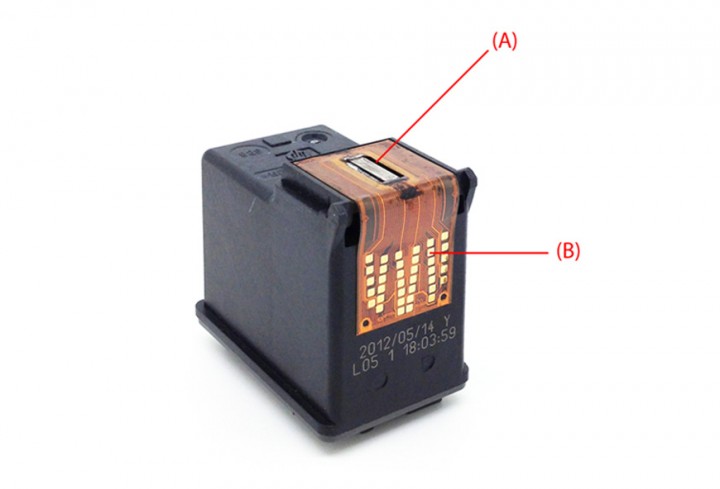
A = The printhead
B = The contacts
Step 1
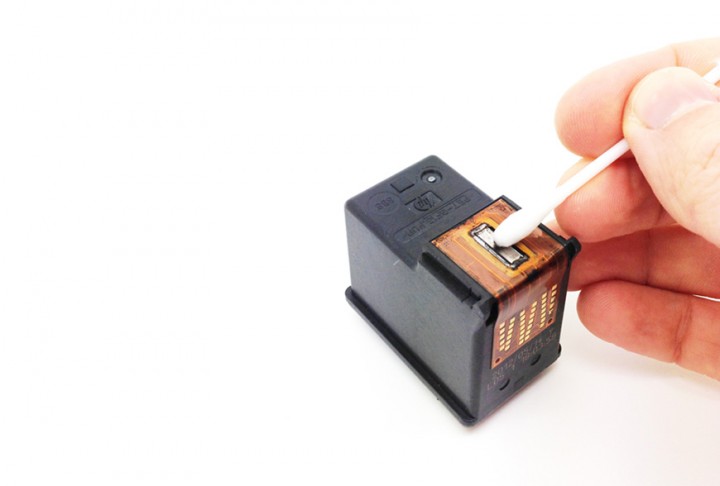
Remove the ink cartridges from the printer. The print-head is located at the bottom of the cartridge (reference image, A). Wet a cotton swab with warm water and use it to clean the print head of the cartridge.
Step 2
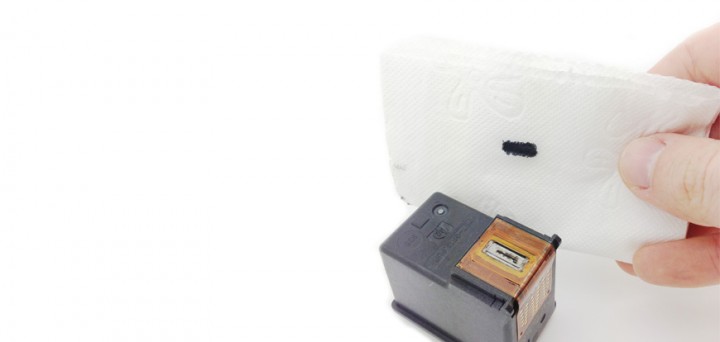
Take a paper towel and gently dab the printhead dry. After a few dabs you will notice that ink is coming out of the printhead again. Fold a piece of paper towel in half until you have a nice square package and press it gently against the print head. You will see some oval-shaped stains on the paper of the colours you are cleaning. When cleaning the coloured ink you will get a red, yellow and blue oval. A black oval will appear when cleaning the black cartridge.
Step 3
Take a new piece of clean paper towel and wipe the contacts – (B) on the reference photo – in the printer itself, where the ink cartridges will be placed. Make sure they have a nice shine, no ink residue is visible and that no pieces of paper got stuck.
Step 4
Put the cartridges back into your HP printer and let it run another cleaning process using the software. If everything went well, you should get a correct printout of the test page. If not, the problem lies elsewhere, but at least you have ruled out the possibility that it’s caused by clogged print-heads.
This problem is not always the cause of bad prints, clogged printheads only occur when the printer has been idle for a while, but it never hurts to manually clean the cartridges when the printer is working.
View our competitively priced ink cartridges on Inktweb.nl >>
